GitHub workflow to manage Sitecore XM Cloud environments
Sitecore XM CloudSitecore CLIautomationGitHub actionsversioning everything
| Reading Time: 4 Minutes, 15 Seconds
2024-06-19
This is a kind of a follow up on a blog of another Sitecorian: Christian Hahn showed how you can use Sitecore Connect to create environments1.
Sitecore Connect is a really strong tool for creating automation flows. It simplifies connecting to all Sitecore products and enables easy integration to a whole suite of non-Sitecore products.
A UI tool like Sitecore Connect is really good at for exploring - it let’s you easily see both the possibilities with connectors, actions and configuration properties for each steps, and the configured process. However, on the other hand it can be hard to collaborate and re-use, I really want to versioning everything as it has some clear benefits:
- Clear audit trail of who did which changes, we can have effective review
- History can include reason for changes (commit messages)
- People can work simultaneously and merge their changes together
- Sharing across projects is simple, files can just be copied
There are times for both approaches where one can be better than the other, but at least be aware of the options.
Setup connection to Sitecore XM Cloud
While Sitecore Connect out of the box have client connections to your Sitecore products, we will have to setup a set of credentials for connecting. That is done in the credentials in Sitecore Deploy app

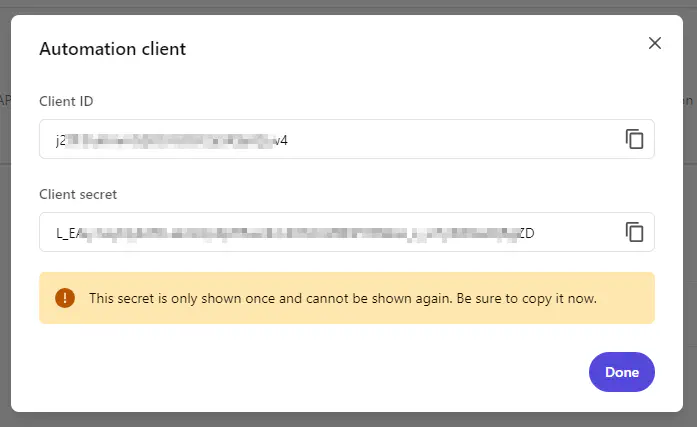
We need to create organization wide credentials to create new environments. Give a description for the credentials so you have a chance of remembering the usage. Afterwards a set af credentials are shown:

Obviously those credentials must be kept secret. The credentials cannot be seen in the Sitecore Portal later on so it is important that you save them immediately. I will here store them in two PowerShell variables $clientId and $clientSecret.
The actual steps to create an environment in Sitecore XM Cloud
While Sitecore Connect does a great job in hiding the complexity, it is of course possible to create an environment ourself. In the following we will use the Sitecore CLI to create an environment in XM Cloud.
Install Sitecore CLI
There is nice documentation2, it is a matter of adding the NuGet source and install dotnet tool
Sitecore CLI is based on a micro-kernel pattern, so the actual functionality is provided by plugins. The
Login to Sitecore XM Cloud
With the credentials we created previously, we can authenticate with the CLI
|
|
Get project reference
Each project in Sitecore XM Cloud is identified with a unique key, which is needed for further calls. Sitecore Connect calls API and let you select the project, we can with CLI make similar call to get the values with dotnet sitecore cloud project list and with the --json switch we can also work with the data to fetch the value we need.
|
|
Create environment
Now creating a project in XM Cloud is actually as simple as running a simple command:
|
|

Ok the world is a bit more complex
|
|
Similar we might also want to remove the environment, eg. when testing is done. There is also a command for that
|
|
Wrapping it together in GitHub workflows
To be able to run those steps automatically a few variables needs to be available for the runner, here created with the GitHub CLI (it can of course also be done with the UI)
|
|
It can all be seen in my example repository3.

When done the status is updated:

There are limitations on how many environments you can have, so check your agreement, or the CLI will give a proper errormessage explaining this.
When the branch is removed, such as from completing the PR, the workflow with on: delete trigger will run to ensure the environment is removed again.

Perspective
Sitecore XM Cloud exposes management API as a modern cloud-native and API first product, which allows us to interact with the product in multiple ways such as the UI, direct REST calls, Sitecore CLI, Sitecore Connect or other integration platforms. Automated processes are a strong tool to structure and streamline processes to ensure the steps are documented, executed in the same way and order, and allows you to scale as you are not depending on a person remembering to do something specific.
Here we recreated the scenario with an XM Cloud environment to test functionality. Similar, we can create a more advanced workflow to streamline other process it could be promoting between specific (allowed) environments, performing actions in multiple systems at the same time (eg. promote in both XM Cloud and Vercel) - and remove the complexity from the users, so eg. the developers just approve a build in a workflow and all necessary actions are performed.